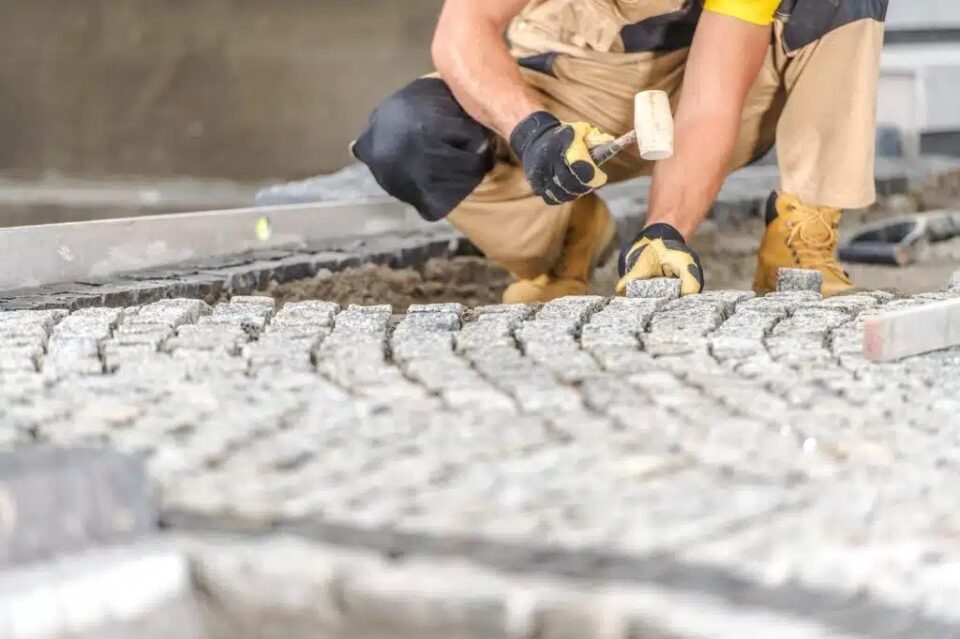
Concrete driveways are a popular choice for homeowners due to their durability, longevity, and aesthetic appeal. Whether you’re looking to upgrade your existing driveway or install a new one, understanding the process of concrete driveway installation is crucial. In this guide, we’ll explore everything you need to know about installing concrete driveways, from preparation to maintenance.
Preparation Phase
Before embarking on a concrete driveway installation project, proper preparation is essential. Here are the key steps involved:
- Site Preparation: The first step is to clear the area where the driveway will be installed. This involves removing any existing pavement, debris, or vegetation. The ground should be compacted and leveled to ensure a stable base for the concrete.
- Layout and Marking: Once the site is prepared, the layout of the driveway is marked using stakes and string. This helps define the dimensions and shape of the driveway, ensuring accuracy during the installation process.
- Excavation: Excavation involves digging out the soil to the desired depth to accommodate the concrete thickness and any necessary sub-base materials. The depth of excavation depends on factors such as soil type, climate, and intended use of the driveway.
- Sub-Base Installation: A sturdy sub-base is crucial for the longevity of the concrete driveway. Typically, a layer of gravel or crushed stone is spread and compacted to provide drainage and stability.
Installation Phase
Once the preparation phase is complete, the actual Concrete Driveway Installation of the concrete driveway can begin. Here’s what it entails:
- Formwork: Formwork, or molds, are used to contain the concrete and shape it into the desired dimensions. Forms are typically made of wood, metal, or plastic and are secured in place using stakes.
- Reinforcement: Depending on the design and load-bearing requirements, reinforcement may be added to the concrete. This usually involves placing steel mesh or rebar within the formwork to strengthen the driveway and minimize cracking.
- Concrete Pouring: With the formwork in place and reinforcement installed, the concrete can be poured. It’s crucial to use high-quality concrete mix with the right proportions of cement, aggregate, and water to ensure strength and durability.
- Finishing: Once the concrete is poured, it needs to be leveled and smoothed to achieve a uniform surface. This involves techniques such as screeding, bull-floating, and troweling to remove excess concrete and create a smooth finish.
Curing and Maintenance
After the concrete driveway is installed, proper curing and maintenance are essential to ensure its longevity and performance. Here are some important considerations:
- Curing: Curing is the process of keeping the concrete moist and at the right temperature to facilitate hydration and strength development. This typically involves covering the driveway with plastic sheeting or applying curing compounds to prevent moisture loss.
- Sealing: Sealing the concrete driveway helps protect it from stains, water penetration, and surface damage. A quality concrete sealer should be applied after the concrete has cured completely, typically within a few weeks of installation.
- Regular Maintenance: To keep your concrete driveway in top condition, regular maintenance is key. This includes removing debris, cleaning stains promptly, and resealing the surface as needed to prolong its lifespan.
Conclusion
Installing a concrete driveway requires careful planning, preparation, and execution to ensure a durable and long-lasting result. By following the steps outlined in this guide and enlisting the help of experienced professionals, you can enjoy the benefits of a beautiful and functional concrete driveway for years to come

